Microneedling can transform your skin, but only when prepared properly. The microscopic channels created by microneedling become pathways for enhanced product absorption and collagen production. At the same time, the channels make your skin temporarily vulnerable to irritation, infection, and compromised healing.
Your skin’s condition before treatment directly impacts your immediate comfort and long-term results. A compromised skin barrier, active breakouts, or residual ingredients can impeded recovery time and diminish the skin’s natural collagen production.
This guide what you need to know about preparing your skin for microneedling, from the ingredients that must be discontinued to the steps that optimize healing and results.
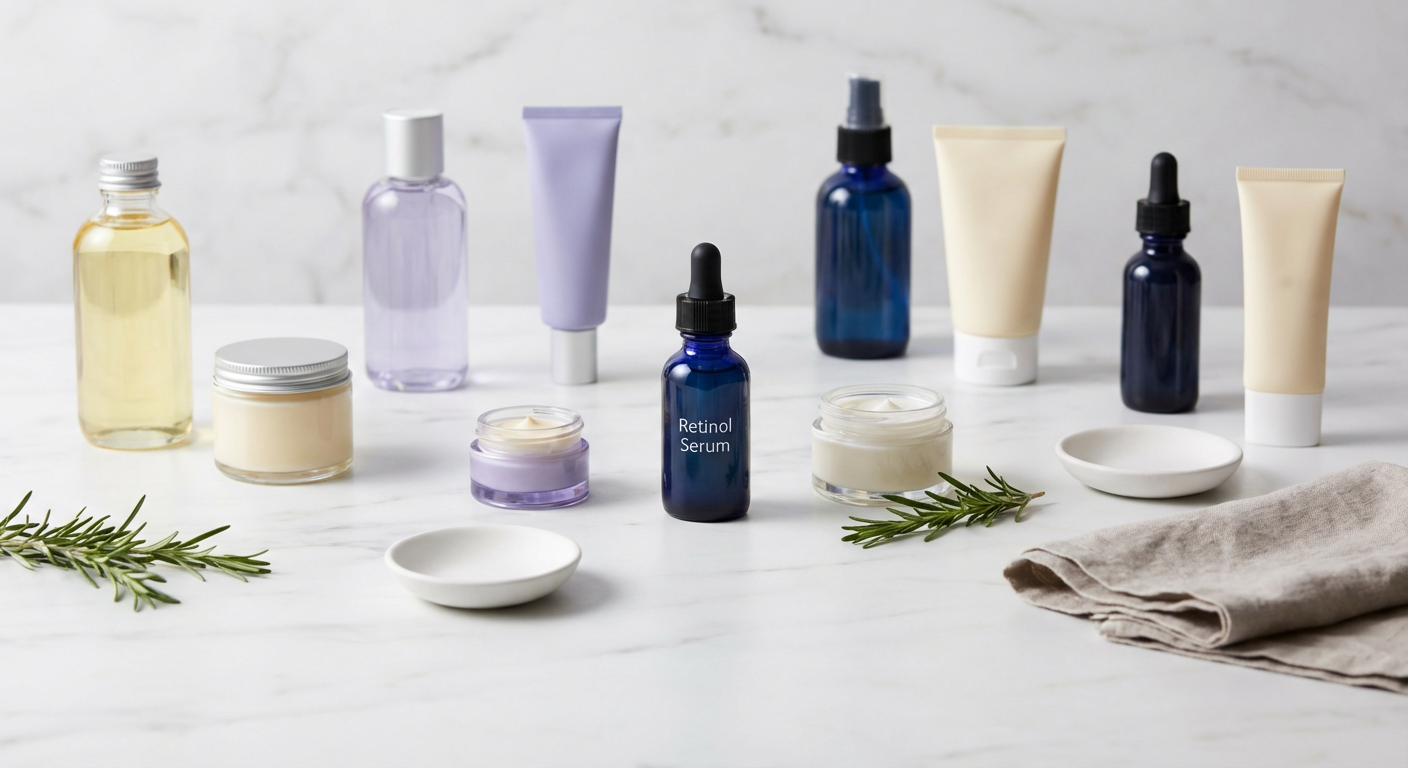
What You’ll Need
- Gentle, pH-balanced cleanser (5.5-6.5 pH range)
- Fragrance-free moisturizer with ceramides or hyaluronic acid
- Broad-spectrum SPF 30+ sunscreen (zinc oxide or titanium dioxide preferred)
- Hydrating serum without active ingredients
- Clean pillowcases and towels for the week before treatment
- Treatment timeline — mark your calendar 7 days before your appointment
Step-by-Step Microneedling Preparation Guide
Step 1: Discontinue Active Ingredients (7 Days Before)
Stop using retinoids, retinol, tretinoin, and vitamin A derivatives immediately. These ingredients increase cellular turnover and can leave your skin overly sensitive. Even if you’ve been using retinol for years without irritation, the combination with microneedling can cause severe inflammation and delayed healing.
Why this matters: Retinoids thin the stratum corneum (your skin’s protective outer layer) by accelerating cell turnover. When combined with microneedling’s physical disruption, this creates excessive vulnerability to bacteria, environmental irritants, and deeper tissue damage.
Pro tip: Carefully check your creams and serums, anti-aging products may contain concentrations of retinyl palmitate or other vitamin A derivatives that aren’t always clearly labeled.
Step 2: Eliminate Exfoliating Acids (7 Days Before)
Stop all alpha hydroxy acids (AHAs) like glycolic and lactic acid, beta hydroxy acids (BHAs) like salicylic acid, and any chemical exfoliants. This includes toners, serums, and cleansers containing these ingredients.
Duration guideline: Allow 7-10 days for your skin’s acid mantle to restore its natural pH balance. Acids temporarily disrupt your skin’s protective barrier function, and microneedling requires an intact barrier for optimal healing.
Common mistake: Foam cleansers often contain salicylic acid, and some gel cleansers include AHAs for “gentle daily exfoliation”, don’t forget to check your cleansers too.
Step 3: Avoid Physical Exfoliation (7 Days Before)
Stop using scrubs, exfoliating brushes, washcloths, or any physical exfoliation methods. Your skin needs to build up its natural protective layer before microneedling.
Why this step matters: Physical exfoliation creates microscopic tears in the skin barrier. While these typically heal within 24-48 hours, microneedling with pre-existing barrier damage increases inflammation and reduces treatment efficacy.
Step 4: Switch to Gentle, Hydrating Products (7 Days Before)
Transition to gentle products, use a cream cleanser or micellar water instead of foaming cleansers. Apply a barrier-repairing moisturizer twice daily, focusing on ingredients like ceramides, niacinamide, or hyaluronic acid.
Target ingredients for this phase:
- Niacinamide (2-5%): Strengthens barrier function and reduces inflammation
- Hyaluronic acid: Maintains hydration without irritation
- Ceramides: Restore lipid barrier integrity
- Panthenol (Pro-Vitamin B5): Promotes healing and reduces sensitivity
Step 5: Increase Sun Protection (Ongoing)
Apply broad-spectrum SPF +30 or higher every day. Reapply every 2-3 hours when outside. UV exposure before microneedling increases post-treatment hyperpigmentation risk, especially in medium to darker skin tones.
Sunscreen selection: Choose mineral sunscreens with zinc oxide or titanium dioxide over chemical sunscreens. These create a physical barrier rather than being absorbed into the skin, reducing potential irritation.
Step 6: Address Active Breakouts (3-5 Days Before)
If you have active acne or infected lesions, postpone your microneedling appointment. The needles can spread bacteria across your face, worsening breakouts and causing scarring.
Safe spot treatments: Use benzoyl peroxide or diluted tea tree oil on isolated blemishes, but avoid broad application. Stop all spot treatments 24 hours before your appointment.
Step 7: Day-of-Treatment Cleansing
Cleanse your face thoroughly with your gentle cleanser 2-3 hours before your appointment. Avoid cleansing immediately before treatment.
Important: Don’t apply any products after cleansing on treatment day unless specifically instructed by your practitioner. This includes moisturizer, serum, or sunscreen, these can interfere with the treatment and increase irritation risk.
Common Mistakes to Avoid
Over-Preparing with “Healing” Products
Many people load their skin with multiple “prep” products thinking more is better. This often includes layering vitamin-E oils, heavy healing balms, or numerous serums. Instead, simplicity is key, your skin needs to be clean, healthy, and free of buildup, not over-moisturized or coated in products.
Ignoring Product Ingredients Lists
Reading labels becomes crucial during prep time. Retinol can hide under names like “retinyl acetate” or “retinyl linoleate.” AHAs might be listed as “fruit acids” or specific names like “malic acid.” When in doubt, stick to products with very short, recognizable ingredient lists, or ask us.
Timing Multiple Treatments Too Close Together
If you’ve recently had chemical peels, laser treatments, or injectable procedures, wait at least 2 weeks before microneedling – your skin needs time to fully heal.
Neglecting Overall Health Factors
Poor sleep, high stress, hormonal fluctuations, and certain medications can impact healing. While you can’t control everything, aim for consistent sleep and consider postponing treatment if you’re experiencing high stress or illness.
Expected Results & Timeline
Proper preparation doesn’t just reduce risks, it actively improves your results. Well-prepared skin typically shows visible improvements within 4-6 weeks instead of the 6-8 weeks common with unprepared skin.
Immediate effects (24-48 hours): Properly prepared skin shows minimal swelling and redness that resolves quickly. You might notice a slight “glow” from improved circulation.
First week: Any flaking or dryness should be minimal and manageable with gentle moisturizing. Your skin should feel comfortable, not tight or irritated.
2-4 weeks: Skin texture improvements become noticeable. Fine lines appear softer, and overall skin tone looks more even.
4-8 weeks: Collagen remodeling reaches its peak. This is when you’ll see the most dramatic improvements in skin firmness, texture, and the appearance of deeper lines or scars.
Long-term benefits: Properly prepared treatments often result in longer-lasting improvements and less post-inflammatory hyperpigmentation, especially important for darker skin tones.
Frequently Asked Questions
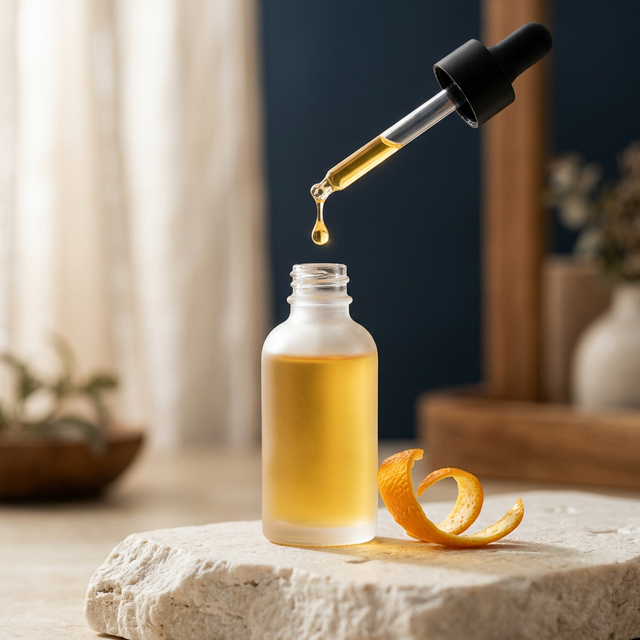
L-ascorbic acid (pure vitamin C) can be irritating and should be avoided 3-5 days before treatment. However, gentler vitamin C derivatives like magnesium ascorbyl phosphate or sodium ascorbyl phosphate are generally safe to continue. The key is avoiding anything that causes tingling, stinging, or visible irritation. If your vitamin C serum is well-tolerated and doesn’t cause sensitivity, you can likely continue it, but stop immediately if you notice any irritation during your prep phase.
Don’t panic, but be honest with your practitioner. If it was within 48 hours of treatment, consider postponing. If it was several days ago and your skin shows no irritation, the treatment can likely proceed, but your practitioner may adjust the needle depth or technique. The key is that your skin should look and feel normal on treatment day — no redness, flaking, or sensitivity.
While not required, some nutrients can support healing. Vitamin C (500-1000mg daily) supports collagen synthesis, and zinc (15-30mg daily) aids wound healing. However, avoid vitamin E supplements as they can increase bleeding. Start any supplements at least a week before treatment to ensure you don’t have any adverse reactions. Always consult with your healthcare provider before starting new supplements, especially if you take medications.
No makeup should be worn to your appointment. Your practitioner needs to see your skin’s natural state and will perform thorough cleansing as part of the treatment protocol. Plan for 24-48 hours without makeup after treatment as well, as your skin needs to breathe and heal. If you must cover redness for work, discuss mineral makeup options with your practitioner for day 2-3 post-treatment.
Healthy, treatment-ready skin feels comfortable throughout the day without needing frequent moisturizer applications. It shouldn’t show visible flaking, redness, or sensitivity to your regular gentle products. Your skin should bounce back quickly when gently pinched (indicating good hydration) and have an even tone without active breakouts or irritated areas. If you’re unsure, your practitioner can assess your skin barrier function during a pre-treatment consultation.