Microneedling creates hundreds of microscopic channels in your skin to trigger natural collagen production — but the quality of your results depends heavily on how well you prepare beforehand. Think of it like preparing a canvas before painting: the better the foundation, the more beautiful the final result.
Your skin’s health and barrier function directly impact how effectively it responds to microneedling stimulation. When your skin barrier is compromised or your cellular turnover is sluggish, the treatment can cause unnecessary irritation or produce uneven results. Proper preparation optimizes your skin’s healing response and minimizes downtime.
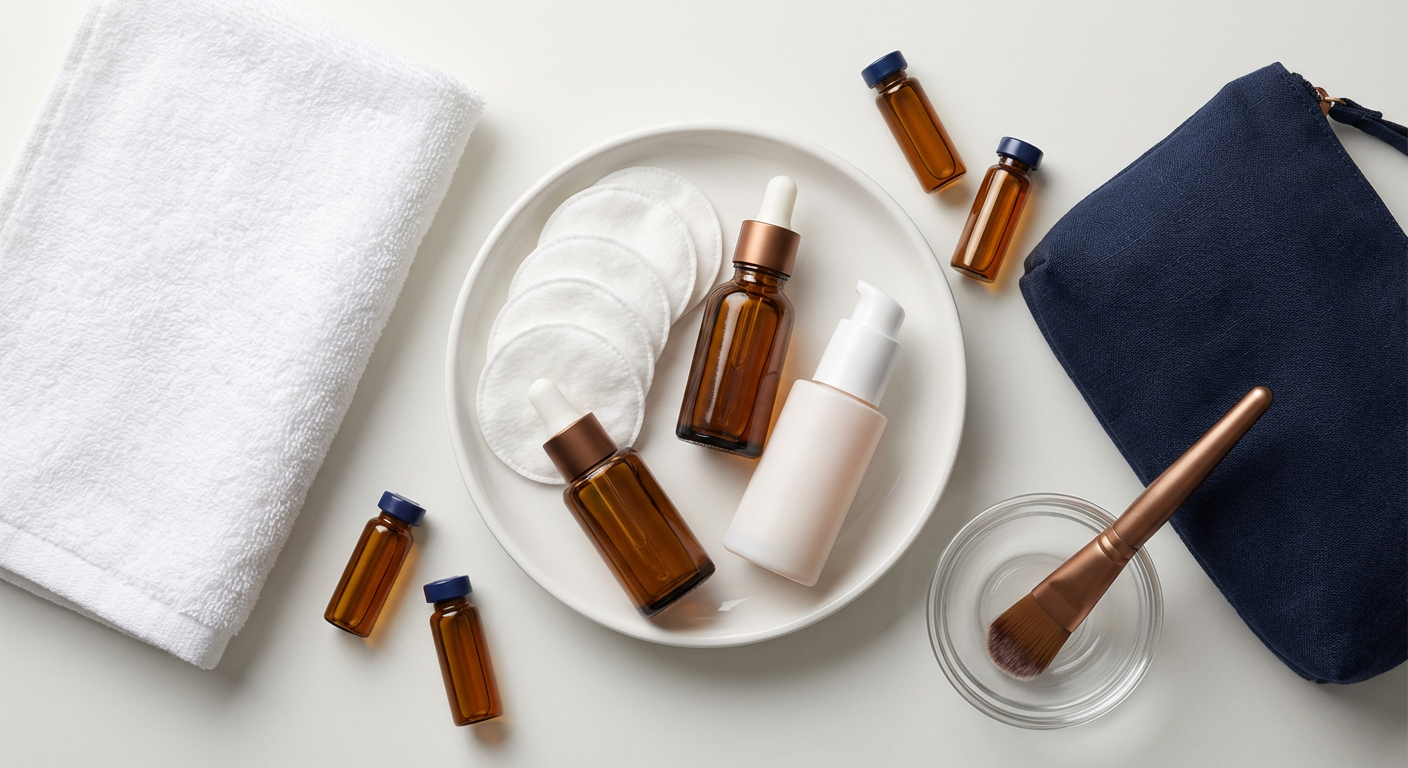
What You’ll Need
- Gentle, pH-balanced cleanser (5.5-6.5 pH range)
- Hydrating serum with hyaluronic acid or sodium hyaluronate
- Moisturizer with ceramides or barrier-repair ingredients
- Broad-spectrum SPF 30+ sunscreen (zinc oxide or titanium dioxide preferred)
- Vitamin C serum (L-ascorbic acid or magnesium ascorbyl phosphate)
- Access to your current skincare products for the “discontinuation list”
Step-by-Step Preparation Guide
Step 1: Stop Active Ingredients 5-7 Days Before (Most Critical Step)
Discontinue all exfoliating acids and retinoids at least five days before your appointment. This includes glycolic acid, salicylic acid, lactic acid, tretinoin, retinol, and benzoyl peroxide. These ingredients thin the stratum corneum (your skin’s protective outer layer) and increase photosensitivity — exactly what you want to avoid before creating controlled micro-injuries.
Why this matters: Active ingredients can cause excessive irritation when combined with microneedling, leading to prolonged redness, peeling, or even temporary hyperpigmentation. Your skin needs its full barrier thickness to handle the treatment optimally.
Common mistake: Many people think “more actives = better results” and continue using retinol right up until treatment day. This actually delays healing and can cause unnecessary discomfort.
Step 2: Build Your Skin Barrier 3-5 Days Before
Switch to a simplified, barrier-strengthening routine focused on hydration and protection. Use products with ceramides, niacinamide (up to 10%), or hyaluronic acid to optimize your skin’s moisture levels and barrier function.
Your routine should look like: gentle cleanser → hydrating serum → barrier-repair moisturizer → sunscreen (AM only). This combination supports optimal wound healing by ensuring your skin has adequate moisture and lipid content.
Duration: 10-15 minutes morning and evening
Pro tip: If you live in Israel’s dry climate, consider adding a humidifier to your bedroom during this preparation period. Optimal skin hydration starts from within and from your environment.
Step 3: Boost Antioxidant Protection 2-3 Days Before
Introduce a vitamin C serum into your morning routine if you don’t already use one. L-ascorbic acid at 10-20% concentration or magnesium ascorbyl phosphate at 10-15% work best. Vitamin C supports collagen synthesis and provides antioxidant protection that helps your skin respond more effectively to the microneedling stimulus.
Apply vitamin C serum to clean skin, wait 10-15 minutes for absorption, then follow with your moisturizer and sunscreen. The ascorbic acid will help pre-load your skin with the building blocks for enhanced collagen production post-treatment.
Science note: Vitamin C acts as a cofactor for prolyl hydroxylase and lysyl hydroxylase, enzymes essential for stable collagen formation. Pre-treatment loading gives your skin a head start on the repair process.
Step 4: Perfect Your Sun Protection Routine 1 Week Before
Establish consistent daily sunscreen use with broad-spectrum SPF 30 or higher. Physical sunscreens containing zinc oxide or titanium dioxide are preferable because they’re less likely to cause irritation on freshly treated skin.
Apply 1/4 teaspoon of sunscreen to your face and neck every morning, reapplying every two hours if outdoors. Even minimal sun exposure on compromised skin can lead to post-inflammatory hyperpigmentation, especially common in Mediterranean climates.
Key point: This isn’t just for the week before — you’ll need diligent sun protection for 2-4 weeks after microneedling as your skin regenerates.
Step 5: Final Day-of-Treatment Preparation
On treatment day, cleanse your skin gently with your pH-balanced cleanser but skip all serums, moisturizers, and makeup. Arrive with completely clean, product-free skin to prevent any ingredients from interfering with needle penetration or causing unexpected reactions.
Eat a protein-rich meal 2-3 hours before your appointment. Your body needs amino acids readily available for the collagen synthesis that will begin immediately after treatment. Stay well-hydrated — aim for 8-10 glasses of water the day before and morning of your treatment.
Duration: Morning preparation takes 5-10 minutes
What to expect: Your practitioner will cleanse your skin again before treatment, but arriving clean shows you understand proper preparation protocol.
Common Mistakes to Avoid
Using face oils right before treatment: While facial oils can be beneficial for barrier repair, avoid them 24-48 hours before microneedling. Oils can interfere with proper needle penetration and product absorption during treatment. Your skin should be clean and free of occlusive products.
Taking blood-thinning medications or supplements: Discontinue fish oil, vitamin E, aspirin, or other blood thinners 3-5 days before treatment (with your doctor’s approval). These increase bleeding and bruising risk, which can compromise your results and extend recovery time.
Scheduling treatments too close to sun exposure: Never book microneedling within two weeks of significant sun exposure, including beach vacations or outdoor sports. UV-damaged skin doesn’t heal optimally and carries higher risk for pigmentation issues.
Continuing your “normal” skincare routine: This is not the time to maintain your usual active-ingredient routine. Your skin needs to be in a calm, balanced state — not actively exfoliating or turning over rapidly from retinoids or acids.
Expected Results & Timeline
With proper preparation, you should experience minimal downtime and optimal healing. Immediately after treatment, expect 6-12 hours of redness similar to a mild sunburn. This should fade to light pinkness within 24-48 hours.
Properly prepared skin typically shows initial improvement in texture and radiance within 1-2 weeks as new collagen begins forming. Peak results appear 4-6 weeks post-treatment when collagen remodeling reaches maximum activity.
Signs your preparation worked well: minimal discomfort during treatment, quick resolution of post-treatment redness, even healing without dry patches, and visible improvement in skin texture within the first week.
Poor preparation typically results in: prolonged redness lasting 3+ days, excessive dryness or peeling, delayed healing, and suboptimal collagen response requiring additional treatments to achieve desired results.
Frequently Asked Questions
References
- Microneedling Pre-treatment Information for patients – Chelsea and Westminster Hospital NHS Foundation Trust